Do you have a gurgling sink or slow drainage?
It might be time to clean your plumbing vent!
Follow this simple, step-by-step guide to clear out your vent.
Key Takeaways
- Before cleaning your plumbing vent, make sure you get ready to stay safe.
- Wear gloves to protect your hands from sharp edges and debris.
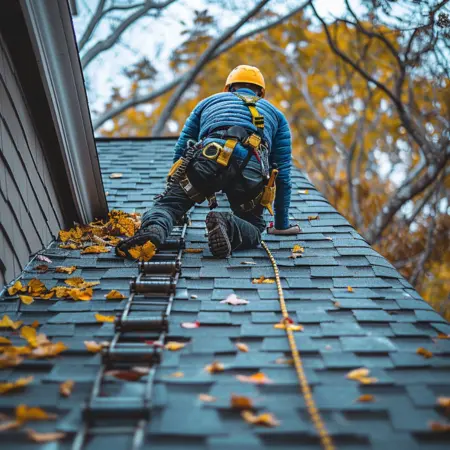
- If you’re unsure about climbing the roof, use a harness for added safety.
- Turn on faucets and flush toilets to check for proper water flow and any unusual smells.
- A professional plumber has the right tools and skills for tough problems.
- Clear away any leaves, branches, or debris around the vent.
Step-By-Step Guide To Cleaning A Plumbing Vent
Cleaning your plumbing vent is important for keeping your drains working well and stopping bad smells.
Here’s a guide to help you clean your plumbing vent safely and effectively:
1. Preparation
Before you start cleaning your plumbing vent, it’s important to prepare to ensure safety.
Here’s what you need to do:
A. Safety Precautions
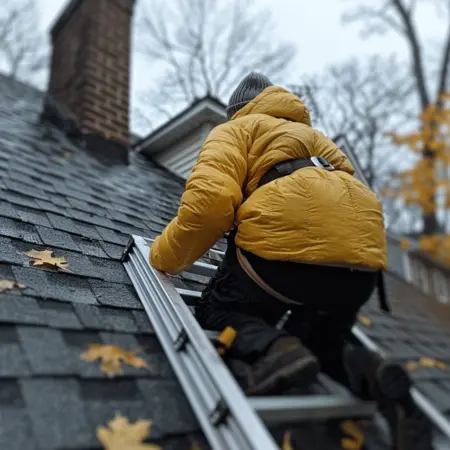
Ensure your ladder is powerful and placed on a flat surface.
If possible, always have someone hold the ladder strongly.

Confirm the ladder extends at least three feet above the roof’s edge for safety.
Put on work gloves to protect your hands from sharp edges and debris.
If you’re working in an enclosed space, ensure good air to avoid inhaling dust.
B. Remove Debris Around The Vent
Before you start, remove any leaves, branches, or other debris around the vent.
This will make accessing and cleaning the vent easier and safer.
2. Access The Plumbing Vent
To clean and inspect your plumbing vent, you must reach it safely.
Here’s how to access it on your roof or an external wall:
A. Locate The Vent
Look for a pipe sticking out from your roof.
This is usually the plumbing vent.
Some vents are on outer walls, often covered by a vent cap or grille.
B. Climb Onto The Roof
Make sure your ladder is secure, and you’re wearing non-slip shoes.
If you’re unsure about climbing the roof, use a harness (a safety device) for extra safety.
Climb slowly and carefully if the vent is on the roof.
Use a stable ladder to reach it if it’s on an outer wall.
3. Inspecting The Vent
Once you’ve accessed the plumbing vent, the next step is to inspect it carefully to identify any issues.
Here’s how to check the vent thoroughly:
A. Use A Flashlight
Shine a flashlight down the vent pipe to look for visible blockages like leaves, nests, or dirt.
B. Assess Condition
Look for any signs of damage or serious blockages.
If you see water pooling or notice a bad smell, it might show a more serious problem.
C. Identify Serious Issues
If you find severe issues, it’s best to contact a professional plumber, such as severe blockages or damage.
4. Clean The Vent
Now that you’ve checked the vent, it’s time to clean it.
Insert a vent brush into the pipe and gently scrub to remove debris.

Make sure to use a brush that fits the diameter of the pipe.
For tougher clogs, you might need to twist and push the brush or use a plumbing snake to break the blockage.
Thorough Cleaning
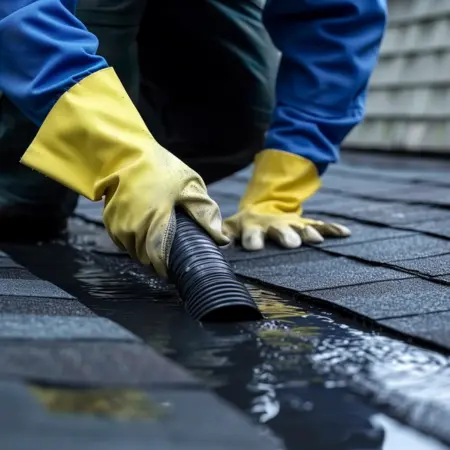
Attach a pipe to a vacuum cleaner and place it over the top of the vent pipe to suck out any remaining debris.
This helps ensure the pipe is completely clear.
5. Check The Vent Cap
Next, you’ll need to check the vent cap to ensure it’s clean and in good condition.
Unscrew the cap from the top of the vent pipe.
Clean it thoroughly to remove any trapped debris and dirt.
Look for cracks, rust, or other signs of damage.
If the cap is broken or damaged, replace it to ensure it fits securely.
6. Reassembling And Testing
After cleaning and checking everything, it’s time to put the vent back together.
Put the cap back onto the vent pipe and tighten it to ensure it’s securely fastened.
Turn on faucets and flush toilets to ensure water flows properly, and there are no unusual noises or smells.
This confirms that the vent is working as it should.
Tools And Materials You’ll Need
You’ll need a few tools and materials to clean your plumbing vent.
Here’s a list of what you should have:
1. Essential Tools
- Vent Brush: A special brush that helps you clean inside the vent pipe.
- Flashlight: To see inside the vent and check for blockages.
- Ladder: To reach the roof or high walls where the vent is located.
- Gloves: To protect your hands while you work.
2. Optional Tools
- Vacuum With A Hose Attachment: This helps you suck out any leftover debris from the vent pipe.
- Plumber’s Snake: A flexible tool to help break up tough clogs if the brush alone doesn’t work.
Troubleshooting And Pro Help
Sometimes, after cleaning your plumbing vent, you might still have problems.
If you still smell bad odors after cleaning the vent, it might mean a bigger problem.
There could be a blockage further down the pipes that needs attention.

If you face such signs of damage or are unsure how to handle a blockage, a plumber can help.
A professional plumber has special tools and knows how to handle tricky problems.
Don’t hesitate to call them if you need help.
For pro services, contact us at OP Plumbing Hub.
Conclusion
This article is a step-by-step guide on how to clean a plumbing vent at home.
It also talks about the tools and materials required for this process.
Furthermore, when to call a professional has also been discussed. Contact OP Plumbing Hub today for expert services and advice.
