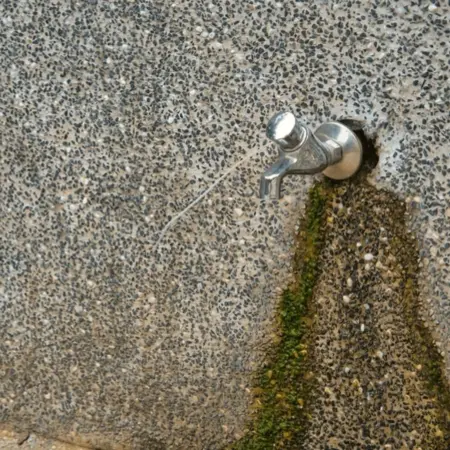
A leaky faucet can irritate, but fixing it is simple and rewarding!
This step-by-step guide will help homeowners tackle the problem with ease.
By following these easy instructions, you can stop the drip and save water—and money—along the way.
Key Takeaways
- Always turn off the water supply before starting any repairs.
- Plug the drain to avoid losing small parts during the process.
- Identify your faucet type to disassemble it correctly.
- Inspect and replace worn parts like washers and O-rings.
- Reassemble the faucet carefully, tightening the screws without overtightening.
- Turn the water back on slowly and check for any leaks.
- Call a professional plumber if you notice damaged pipes and recurring leaks.
Step-By-Step Guide To Fixing A Leaky Faucet
Here’s a simple guide to fixing a leaky faucet.
Follow these steps to make the repair easy. Each step will help you understand what to do.
Step 1: Turn Off The Water Supply
Start by locating the water supply valves under your sink.
Turn them clockwise to shut off the water.
This step is vital to prevent water from flowing while you work on the faucet.
Turning off the water saves you from a messy situation and helps avoid accidents.

Step 2: Plug The Drain
Plug the drain to prevent small parts from falling into it.
You can use a sink plug and a towel to cover the drain opening.
This simple step keeps everything organized.
Also, it saves you the trouble of catching lost pieces later.
Step 3: Disassemble (Pull Apart) The Faucet
Next, identify the type of faucet you have: compression, ball, cartridge, or disc.
Carefully remove the handle and any other parts by loosening screws and nuts.
It’s a good idea to take pictures and arrange the parts in order as you disassemble them.
This will help you remember how to put everything back together later.
Step 4: Inspect And Replace Worn Parts
Look for worn washers, O-rings, or seals causing the leak.
These parts can often wear out over time and need replacing.
Head to your local hardware store to find the right replacement parts.
Before reassembling, clean any dirt and debris from the components to ensure a good seal.
Step 5: Reassemble The Faucet
Now, it’s time to put the faucet back together.
Follow the order you used to take the faucet apart.
Tighten screws and nuts carefully.
Be sure not to overtighten, as this can cause damage.
Use the plumber’s tape on threads to ensure a tight seal.

Step 6: Turn The Water Back On
Once everything is reassembled, slowly turn the water supply back on.
Turn the valves counterclockwise to restore the water flow.
As the water flows through the faucet, check for any new leaks.
You may need to adjust the components or double-check your assembly if you notice any leaks.
With patience, your faucet should be leak-free and working well.
3 Common Mistakes To Avoid
Fixing a leaky faucet can be simple, but mistakes can make it harder.
Knowing what to avoid will help you succeed.
Here are three common mistakes to watch out for during your repair.
1. Overtightening Components
One mistake is overtightening screws and nuts.
This can damage the parts instead of helping them.
Tighten them just enough for a good seal.
2. Forgetting To Turn Off The Water Supply
Another mistake is forgetting to turn off the water supply.
If you skip this, water can spray everywhere while you work.
Always remember to turn off the water to keep things dry and safe.
3. Misidentifying The Faucet Type
Misidentifying the type of your faucet type can lead to issues.
Make sure to identify your faucet correctly to use the right methods and parts.

When To Call A Professional Plumber
Sometimes, faucet issues are more complicated than they seem.
If you notice damaged pipes and recurring leaks, it’s time to call a professional.
These signs may show deeper problems that need expert attention.
Hiring a plumber for major repairs has many benefits.
Professionals have the right tools and experience to fix complex issues safely.
They can also help prevent future problems, saving you time and money in the long run.
Contact us at Leak Repair Services for expert and high-quality services.
Conclusion
This article discusses steps to fix a leaky faucet.
It is a straightforward task that homeowners can handle.
You can save water and money with the right steps while keeping your home in great shape.
Common mistakes to avoid during fixing have also been discussed.
Furthermore, when to call a pro for help has also been discussed.
Contact us at OP Plumbing Hub for excellent leak repair services.
